The Civil Pro Tag Register is a simple list of items you can use to categorise your Lots – just like your Work Types and Area Codes, except you can have as many as you like for each Lot.
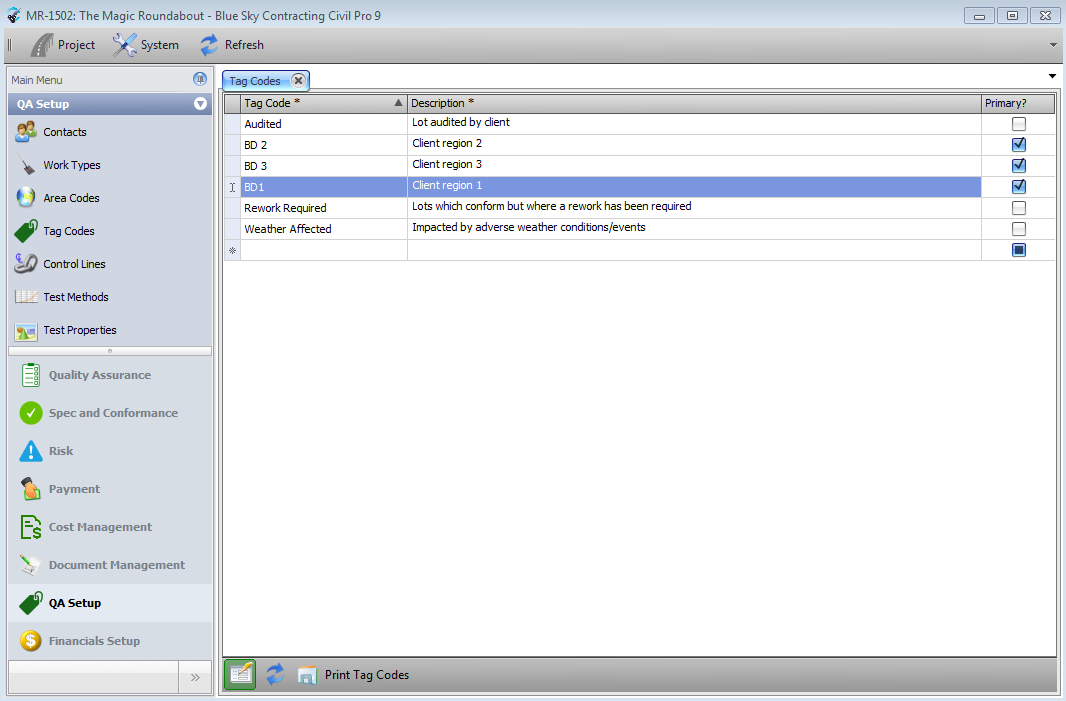
Creating the list of Tags is completely analogous to the Work Types and Area Codes too. Just select the Tag Register from the Main Menu – QA Setup => Tag Codes.
Tagging Lots
Tagging a Lot is the same as adding an NCR or any other related data. Select the Lot you wish to Tag, and then double click the heading that says Tags in its Related Items tree. The Tag Codes Panel will be displayed. You can add Tags in one of 2 ways:
- Double click on the Tags you want to add.
- Select one or more Tags and drag/drop them on the Tags heading in the Related Items list.
Filtering on a tag
To filter on a Tag when in your Lot Register, invoke the Context Menu. Select the Filters sub menu and select the Tag to filter on from the drop down list. To remove filters, either click on the Clear Filters button in the same sub menu (will clear ALL filters – not just the tag filter), or click Ctrl + Delete when in the Tag filter drop down list.
Deleting Tags
To delete a Tag from a Lot, select it in the Related Items Tree, and press the delete button.
Primary Tag Codes
In the majority of cases you can completely ignore the Primary column. This is included where you need to create Custom Lot Numbers using a new field which cannot be accommodated within the existing Work Type/Area Code infrastructure.
Marking a Tag Code as Primary makes it available in a subset of the Tags called Primary Tags. Primary Tags can be used to Tag a Lot when it is created, just like a Work Type or Area Code. Similarly, just like a Work Type/Area Code, there is 1 Primary Tag per Lot, and it can be used to form part of the Lot Number.
To enable the Primary Tag Code functionality, you need to set a Project Option. Once the Primary Tag is enabled, it can be used to create Custom Lot Numbers.