Contents
Viewing the Test Request register
To access the Test Request Register, click on the Test Requests menu item. This menu item is not visible to users who only have approver permission (are not Project Users or Project Admin).
When you first open the test request register, it will display all of the Test Requests for your project, in reverse chronological order. Due to Civil Pro’s ‘on demand’ loading strategy, only the 20 most recent will be loaded until the user scrolls to the end of the list, at which point the next 20 will load, and so on. This ensures that performance is not impacted by unnecessarily downloading test requests you closed 8 months ago and do not need to review.
Adding a new Test Request
To add a new test request, click on the + symbol in the top right corner of the Test Request Register. You will be forwarded to the Test Request Details page (refer below) where the required information for the Test Req is to be entered.
Data that is required for registering a new Test Request is marked with an asterisk. Other fields are optional.
Viewing Test Request Details
To view details for an individual test request, click on the desired item in the Test Req register. The details for the selected test request will be displayed.
As there is a lot of data for a single record, and many mobile devices have small screens, the initial view is rolled up into what is called an Accordion view. Clicking on each section will expand the section to see the data in detail. Exactly which sections are displayed for the test request depend on what type of geometry is used. The available sections are;
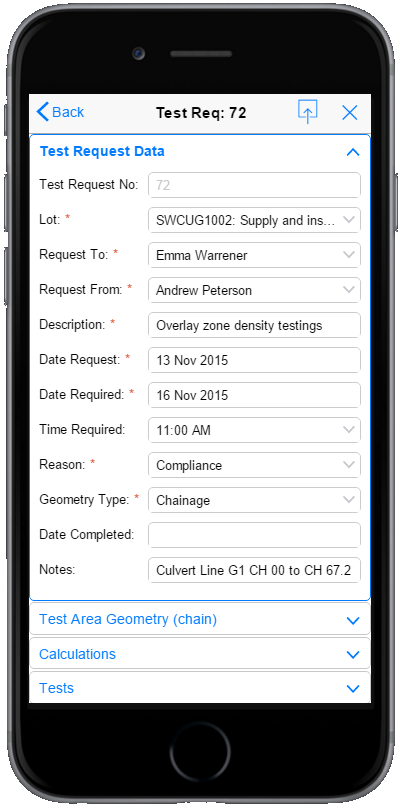
- Test Request Data – displays general test request information such as the Test Req number, description, date requested, date required etc., and the geometry type
- Test Area Geometry (chain) – this is displayed only for test requests with a geometry type of Chainage and includes information about the control line, start end chainages and offsets
- Test Area Geometry (Coord) – displayed for test requests with geometry type of Coord Position or Coord Region and includes 2 or 3 dimensional references relative to a given reference
- Calculations – displays properties of the test request such as the test location method, material source, depth to test and Length, Area and Volume calcs
- Tests –Lists the tests registered against the Test Request
- Properties –Lists the test properties registered against the Test Request
The below screenshot shows the Test Request detail with the Test Request Data section expanded.
Updating Test Request Data
The information in the test request detail page is live and editable. No changes are made permanent unless the save icon (top right next to the X is clicked).
Updating Test Request Geometry
If your test request uses chainage geometry, then updating (or adding) data for your Test Request is exactly the same as for entering Test Request data – simply add the required information.
For coordinate geometry, the process is a little different. If you have selected a coordinate geometry as the geometry type, an additional function Add Coordinate is available in the context menu (click and hold – or right click if using a desktop web interface). Click on this menu item to add a new coordinate. This is analogous to the process described for updating coordinates in the Lot Register.
Adding Tests
To add tests to your test request, invoke the context menu and select the Add Tests option. If this is a new Test Req, or you have made changes, you will need to save before adding tests, coordinate geometry or test properties. A blank add tests popup will become visible. Click on the click here to select tests link.
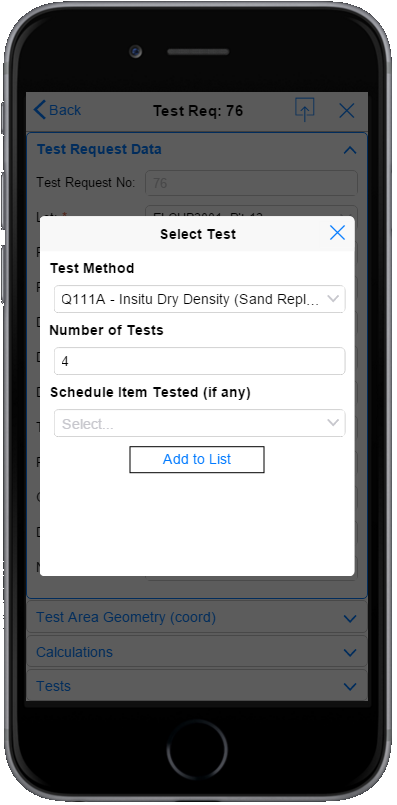
The Select Test popup will be displayed. Select the test method, the number of tests to be created, and if desired, the schedule item being tested.
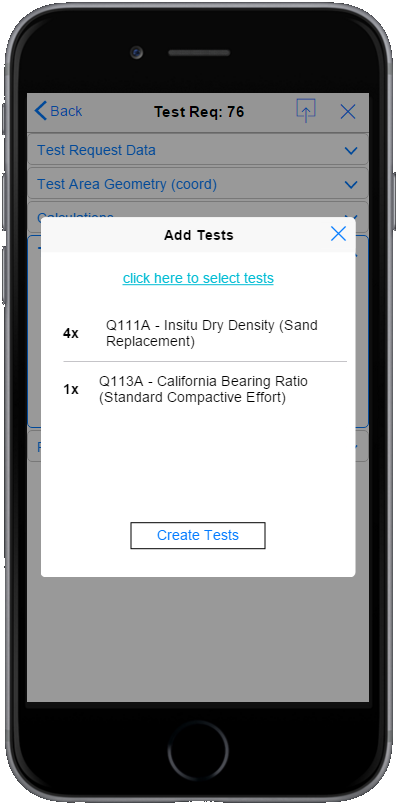
The test will then be added to the Add Tests screen. To add more tests, use the click here to select tests link again, and repeat for the additional tests.
When you have added all of the tests for the Test Request, click on the Create Tests button. A test entry will be created for each test type at the quantity requested. The coordinates will be calculated according to the current value for Location Method in the Test Request calculations section.
It is important to note that there is a difference between repeated use of the Add Tests context menu function vs. adding multiple test types in the one operation if you have specified random stratified sampling.
- If you use add tests to create 4 x Density tests, then later use add tests to create 1 x CBR test, then each test will have its own test location specified – eg samples will occur in 5 different locations.
- The correct way is to use the add test function to specify both 4 x Density Tests and 1 x CBR test, and then click the create tests button. In this situation, only 4 sampling locations will be generated – i.e. the CBR test will be specified in the same location as one of the densities – thus using the same sample as would be the practice in the field.
After the tests are created, they are visible in the Tests section of the test request.
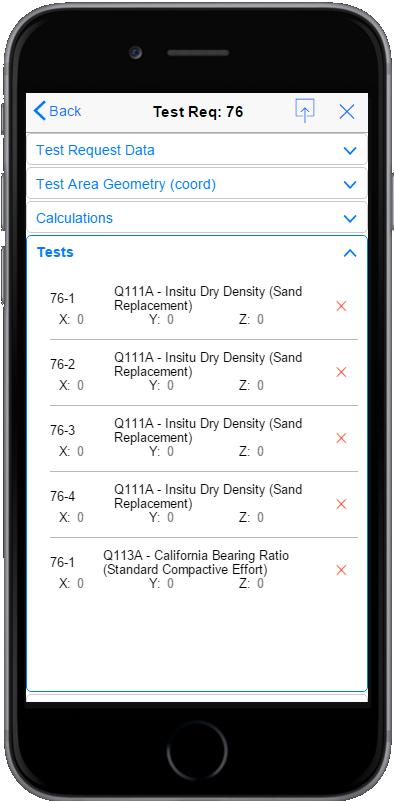
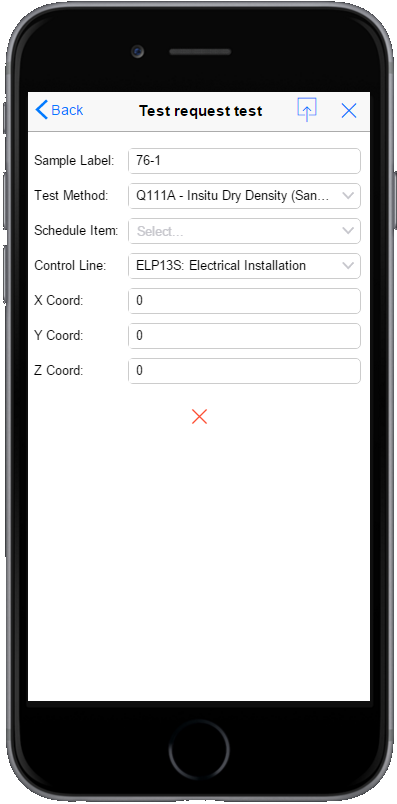
To update the details for a test, click on the test in the list and the test request test edit screen will be displayed. Update the data as necessary, and click the save button in the top right. Clicking on the X in the top right will delete the test, as will clicking on the red X to the right of test in the Test Request Detail test list (refer above screenshot)
Adding Test Properties
Test properties are extra fields which provide additional information on a test request, such as concrete batching details or fill material source and are defined in the Civil Pro Desktop application. To add one or more test properties, select the Add Properties item from the context menu.
The Add Properties screen will be displayed with two link buttons for adding test properties. Add Group or Add Property.
Clicking on the Add Group link opens the Select Property Group dialog. Select the group you wish to add, and all of the properties for that group will be added to the Add Properties screen.

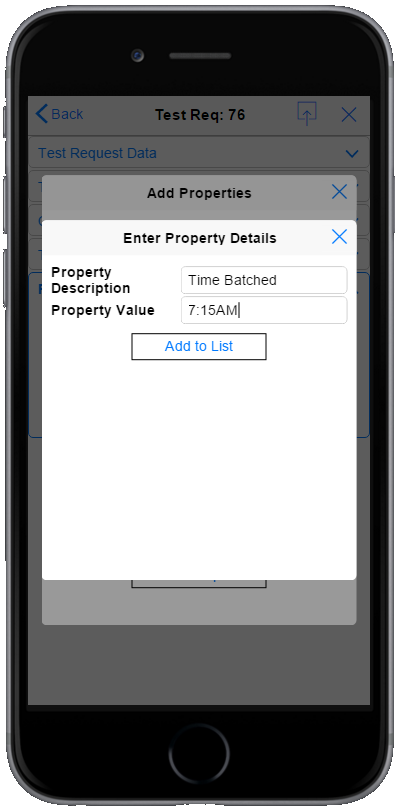
Clicking on the Add Property link opens the Enter Property details, which allows the user to enter a single property, and its accompanying value, without having to specify a group.
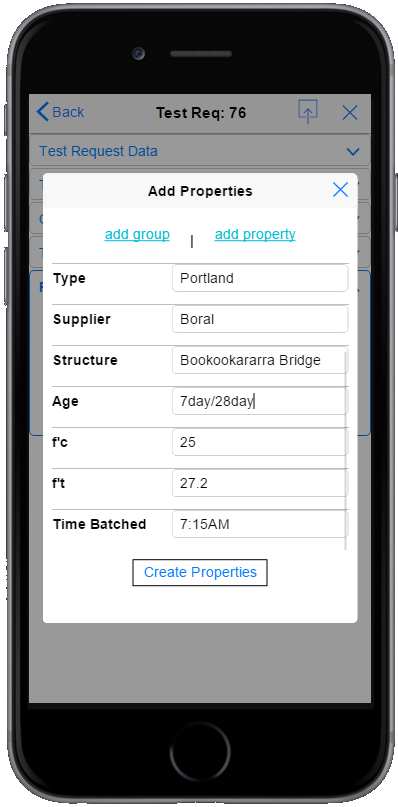
If you want to more than one group, test property or combination thereof, just repeat the process. Values for each of the properties added when using the add group link can be entered directly into the Add Properties screen, as shown in the screenshot below. When the properties have been completed, click on the Create Properties button.
IMPORTANT: Remember to add the actual values for each of the properties before clicking on the Create Properties button – although you can change this later if you need to.
When the properties have been created, they will appear in the Properties section of the Test Request.
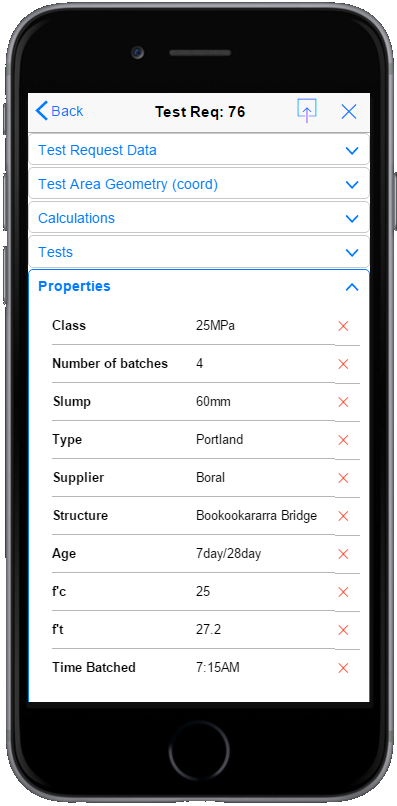
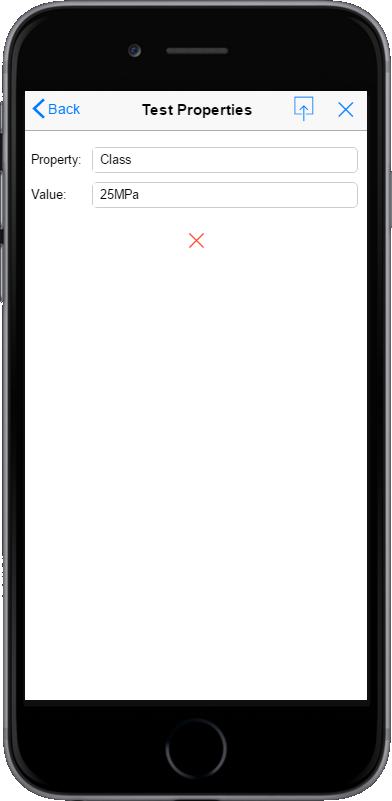
To update a property, click on the property in the list and the Test Properties edit screen will be displayed. Update the data as necessary, and click the save button in the top right. Clicking on the X in the top right will delete the property, as will clicking on the red X to the right of test property in the Test Request Detail property list (refer above screenshot)
Viewing or emailing the Test Request report
Once you have entered all of the data for your test request, you can view the report and/or email it.
To view the report, simply click the Get Report context menu item. The test request will be built into a report on the Civil Pro server, and returned to you as a PDF.
To email the report, click the Email Report context menu item. The Send Email page will be opened where you can provide information to accompany the emailed report, and specify the recipient (for example your testing personnel). To use the function, the addressee must be listed as a person or user in Civil Pro, and have a registered email address. If you need to send an email of the report to someone who is not in the system, then simply use the Get Report function per above, and use your normal sharing tools to forward the PDF from your phone or tablet.