The Controlled Document Register is a list of controlled documents for a project and their associated distribution list. There is no restriction on what documents can be listed in the register.
Contents
Adding a document to the Controlled Document Register
You can add to the document register in 2 ways – manual entry and importing from a CSV file.
Manual Entry
- From the Main Menu, select Document Management=>Controlled Documents
- Once in the Document Register, click on the Enable Editing button in the Register or Context Menu.
- In the first line add the details for the first document. Note: the ‘Last Rev.’ And ‘Last Rev. Date’ columns are not editable – these are completed automatically when revision details are updated (see section below on Revisions)

Importing from CSV File
If you have many documents you want to add to the register doing it manually will take up much valuable time. Civil Pro allows you to import multiple entries into the register from a CSV file. For more information on importing refer to the Importing Data help topic.
- From within the Ribbon Menu and choose Import Doc Register
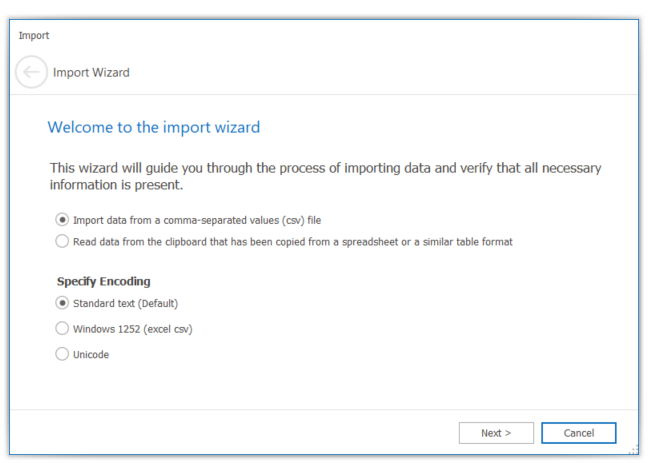
- This will bring up the Import Wizard. Make sure the Import data from CSV file option is checked and click on Next
- Choose the CSV file to import and click Open and the data will appear in the Civil Pro Import Wizard
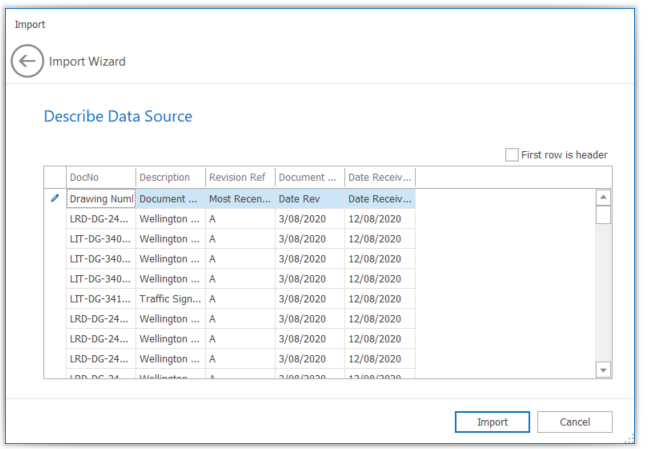
- You now need to give each column a name that Civil Pro will recognise. Right click on the heading of Column 0 and select the appropriate heading name from the popup list. Do this for all columns. TIP: If you cannot see the column headings you can widen each one by dragging the line between each column to the right to expand just as you would in Excel.
- Click Import and Finish – your imported document and details will now appear in the Document Register.
Distribution Lists
The distribution list is a list of people to whom the document must be sent and who must be kept up to date with any revisions.
Adding a Distribution List
- Select the document you wish to add the distribution list to by clicking on the blue cell with the right arrow – the selected line will turn blue
- Double click on Distribution in the Related Items panel to the right of the screen. If you cannot see Distribution in the related items panel click on the refresh button and it will appear
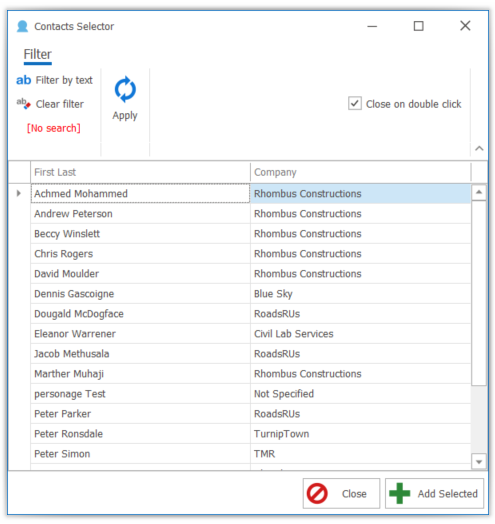
- A Contact Selector popup will appear with a list of users. Select those you wish to add to the distribution list for the selected document. Click Add Selected.
- You will then be taken back to the Document Register screen where you will now be able to see the people you just selected listed under the Distribution heading for that document to the left of the screen.
Adding a Distribution List to Multiple Documents at Once
When documents have the same people to distribute to you can apply them all in one go rather than having to do it one by one as described above.
- Select all the documents you wish to add the distribution list (using the Ctrl key to select multiple options)
- When all highlighted in blue, from the Ribbon Menu, select Add to distro for selected
- The Contact Selector popup will appear. Select the people to distribute to from the list (using the Ctrl key to select multiple options) and click Add Selected.
- You will then be taken back to the Document Register screen where you will now be able to see the people you just selected listed under the Distribution heading for each document you selected to the left of the screen. TIP: You can also control the distribution of documents from the Contacts register. Navigate to QA Setup => Contacts, and select the Show Doc Distribution option.
For information on how to create Controlled Document Transmittals in Civil Pro refer to the Transmittals help topic.
Document Revisions
Eventually one or more of the project documents will be revised. As part of a functioning quality assurance system, it is essential to notify all persons on the distribution list that their previous document is superseded. You will need to update the document register with information about any revisions first.
To update the Document Register with a Revision:
- In the Document Register click on the Enable Editing in the Register or Context Menu
- Double click on document for which you have received a revision
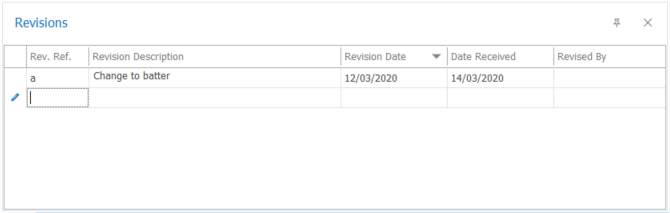
- The Revisions details panel for this document will appear at the bottom of the screen.
- Add the required revision details to a new line.
For information on how to create controlled document revision transmittals refer to the section on Transmittals.