Copying a civil pro project is relatively easy and is achieved using the Project => Import/Export => Transfer Project Data function from the system menu. One of the most common uses for a copy is where you have a template project that you want to use for all new projects. Simply select the project and copy it to either your server, or a standalone database. You can also use these templates during the project initialization.
The copy is not recommended as an alternative to the backup and restore mechanisms you should be employing to protect your data.
Using this function you can;
Server Install
| 1. | Copy a project from a server install to a standalone file |
| 2. | Copy a project from a server install to a new project on the same, or another server |
Standalone
| 1. | Copy a standalone project to a server install |
| 2. | Copy a standalone project to a new standalone project |
In civil pro there is a difference between a copy and a clone. A clone is an identical, standalone replicate of a server-based project that can be used offline, and then re-integrated with the database. You cannot clone a standalone database.
Step 1 Select the source project. You can opt to use the current project (Fig 1A) or choose a different project (Fig 1B). If you choose a different project, this can be selected as either a standalone or server install using the "Select Source" options.
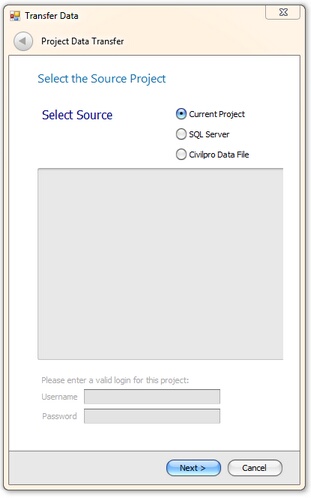
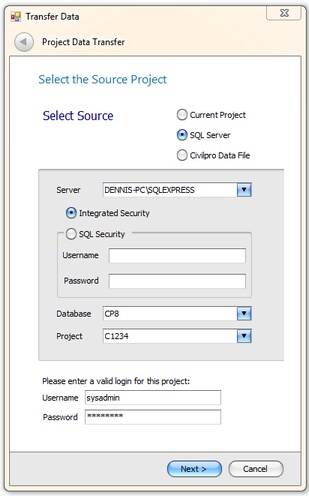
Fig 1A (left) and 1B (right): Selecting a project to copy as either the current project you are logged in to (Fig 1A) or a different project (an existing SQL server install is shown in Fig 1B)
Step 2: Chose the target database - either a server or standalone project. If a standalone project is selected, the destination project must be a new file. You cannot copy over an existing civil pro standalone project or have multiple projects in the one file.
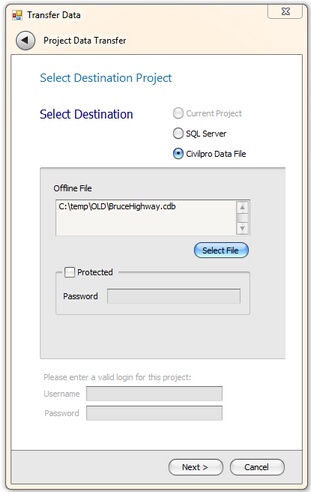
Fig 2: Selecting a destination project. A standalone file type is shown
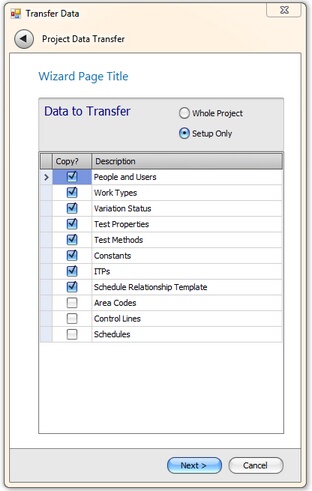
Step 3: Select the data you wish to copy - this can either be the whole project, or a selection from within the setup data.
Step 4; If you want, you can give your project new details (unless you are copying setup information to an existing project).
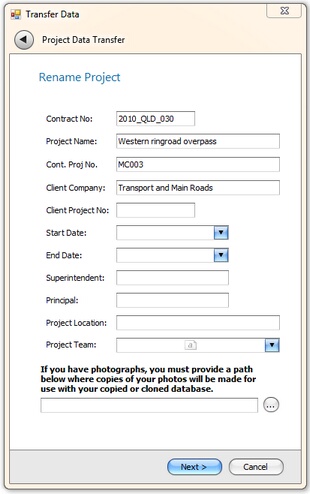
Fig 4: Rename the project
Step 5: Confirm the project details and click the "Start Transfer" button to begin the copy.
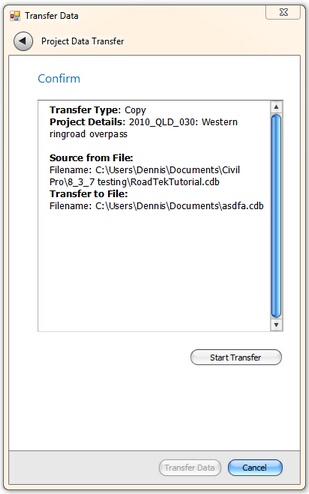
Fig 5: Confirm the copy details