To create levels, select one or more of the 'child' rows and drag them over the parent row, waiting for the blue arrow. This will put the rows you dropped a level lower than the parent you dragged them onto and allow you to expand or collapse them. There is no limit to the number of levels you can create, though you probably want to keep it to four or less for report formatting reasons.
Alternatively, you can select a group of schedule items and indent/outdent using the ctr+[left arrow] or ctrl+[right arrow]. This will set the selected items as children of the node above (right arrow) or, drop them down a level [left arrow].
The outdent behaviour may not give the result you immediately expect because the designed behaviour is to change the parent of the rows outdented to the same as that of their current parent, and place them immediately after their parent row. In fig. 1, this means the selected rows (1202 and 1203) will be moved to the same level as, and with the same parent as, PROVISION FOR TRAFFIC i.e. they are directly under Part A - Roadworks. They will become the next items at that level (Fig 2.). As you can see in the figure though, items 1201 and 1204 are above them in the schedule as they remain children of PROVISION FOR TRAFFIC.
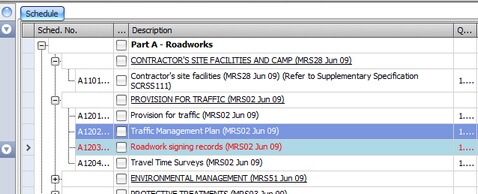
Fig 1. Items before outdent
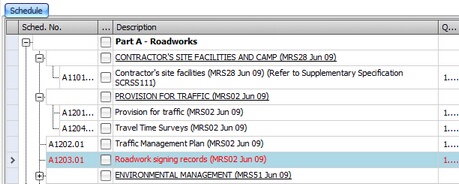
Fig 2. Items after outdent
Reordering
Reordering rows is the same process except when you drag over the parent row, hovering over the top or bottom edge of the target row will change the drop indicator to a yellow arrow. This indicates the item will be dropped above or below the item instead of as a child.
Please note that drag and drop and reordering is disabled when the schedule register is first opened. To enable it de-select the Lock Structure option in the grid context menu.
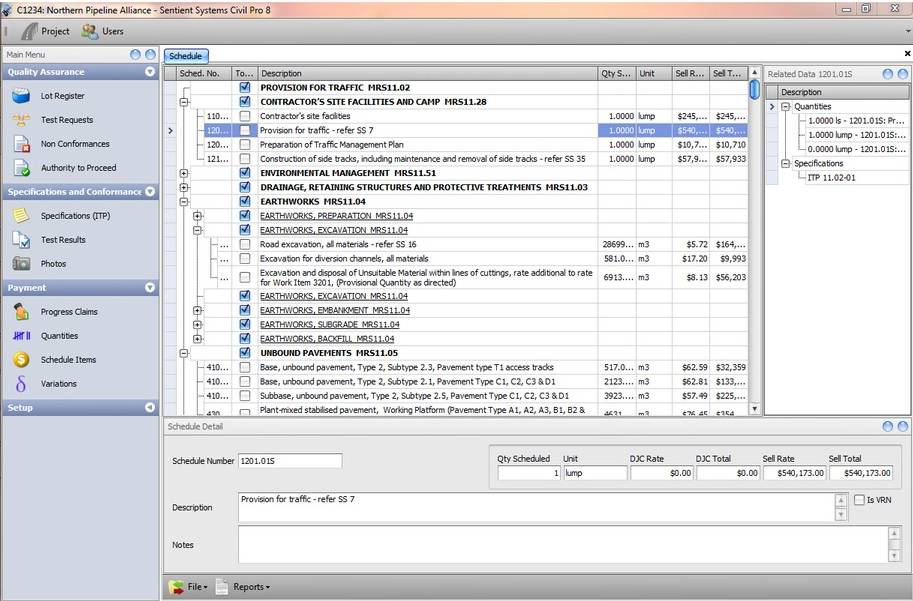
Fig 3 - A structured and formatted schedule