Notice templates allows users to set up consistent layouts for standard project communications with built-in references to quality and financial data such as lots, variations, approvals, photos.
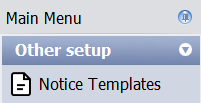
Notice templates are found under the Other Setup heading within the main menu to the right of the screen. Clicking on the Notice Template option will open the Notice Template Register.
Contents
Notice Template Fields
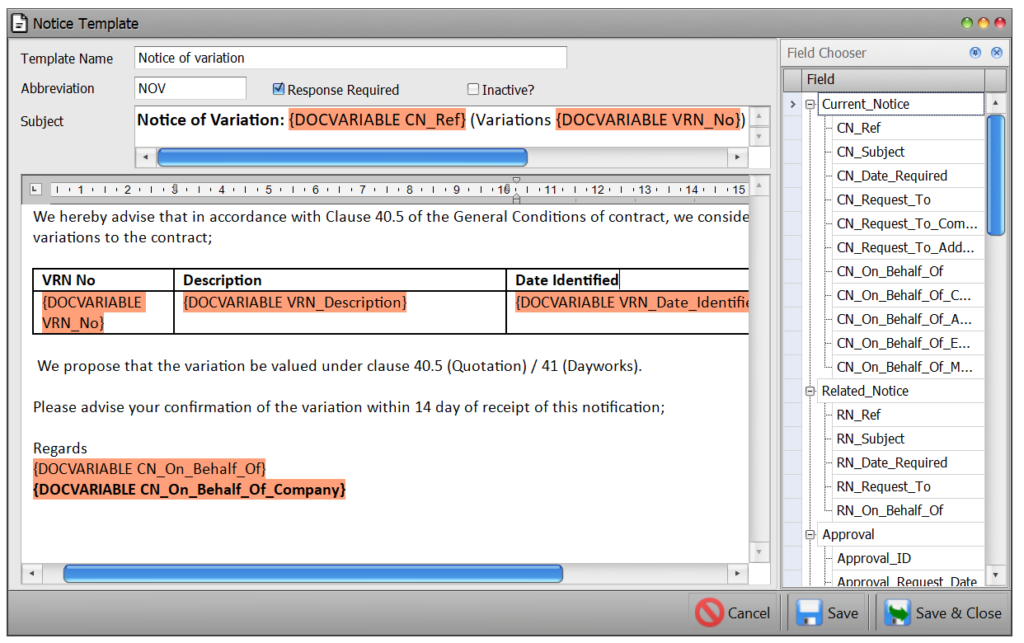
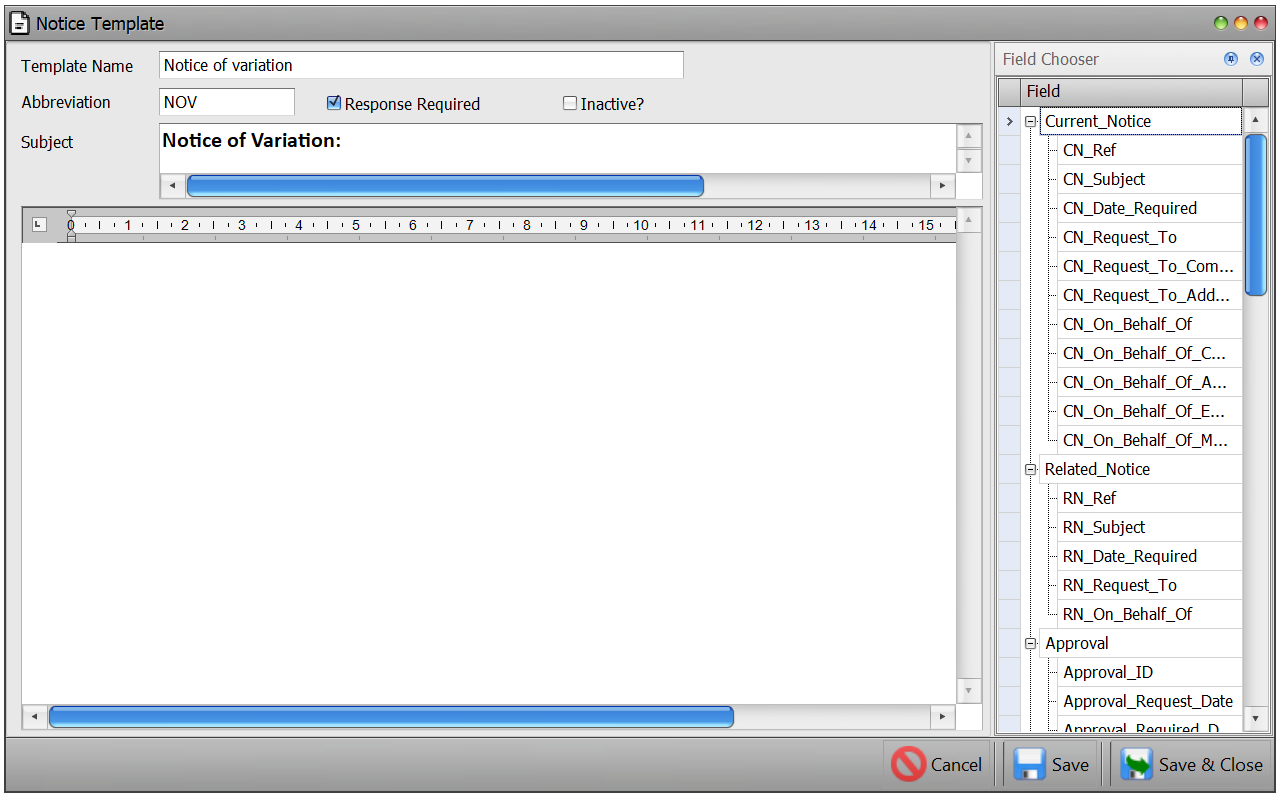
- Template name – the name to be given to the template
- Abbreviation – an abbreviation for the template name. This is used when generating the document number for contract notices using this template
- Subject – subject of template
- Body – the details and fields of the notice template
Creating a new notice template
- To create a new notice template, click on the Add Template button at the bottom of the screen

- The Notice Template will open ready for editing. Give the template a name and abbreviation

- The subject and body sections can contain plain text or fields. Plain text will be added to contract notices that are created using this template exactly as input. Fields will be replaced with data from records such as variations, controlled documents, lots etc that are linked to a contract notice. In the subject and body sections, type in the plain text as required and when ready to add fields, make your selection from the Field Chooser to the right of the screen, using a drag and drop action to select and place the fields where required. When the fields are added to your template they appear highlighted in orange as below. Please refer to the section on multiple records and tables below for information on how Civil Pro resolves contract notices with multiple related items of the same type.
- Click on Save or Save & Close

Multiple records & tables
Often a contract notice will refer to multiple records. For example, a notice of variation may provide notification of 3 different variations – VRN001, VRN002 and VRN 003. How the controlled document displays this in its fields depends on how the template is set up. There are two options:
- Simple field: The multiple records will be displayed as a comma separated list. For example, if the subject contains a field for the variation number, a contract notice from this template would show VRN001, VRN002, VRN 003
- Table: If the data is contained in a table with exactly 2 rows with the fields in the second row (the top row is for headers), then a row will be added for each variation
You can add a table to your template. From within the body of the template right click to bring up the context menu and select Table from the options.
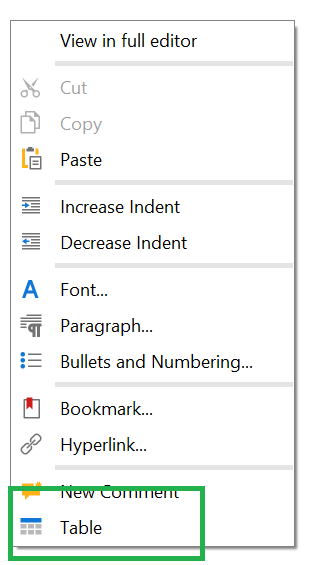
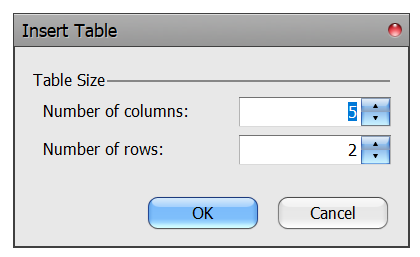
This will bring up the Insert Table dialog. From here select the number of rows and columns for your table and click OK.
Your table will now appear in your template. Add fields to your template by using a drag and drop action. Move between cells using the Tab key.
Formatting
You can format your template using options within the context menu. From the context menu you can increase or decrease indents or select Font, Paragraph, Numbering & Bulleting and Indent.
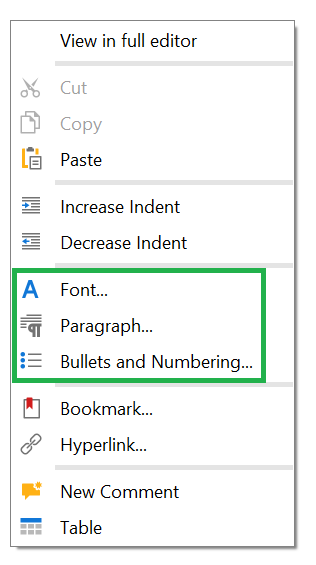
When you click on these the relevant options dialog will appear.
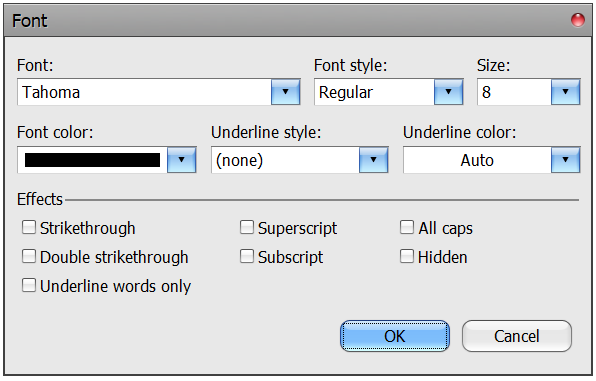
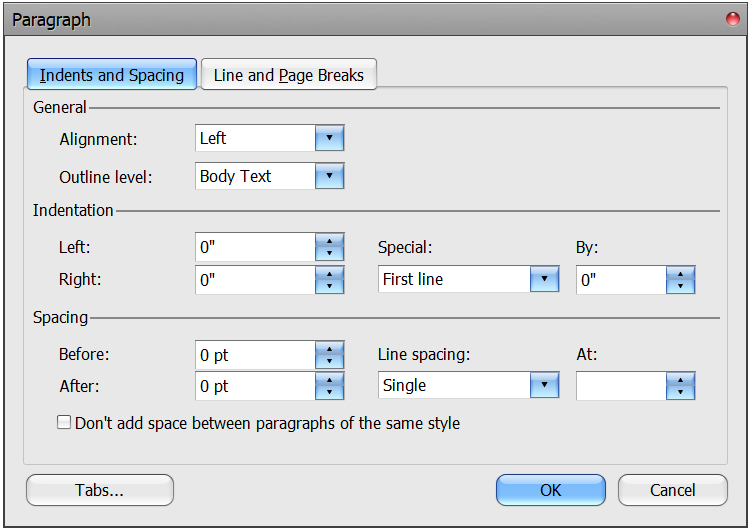
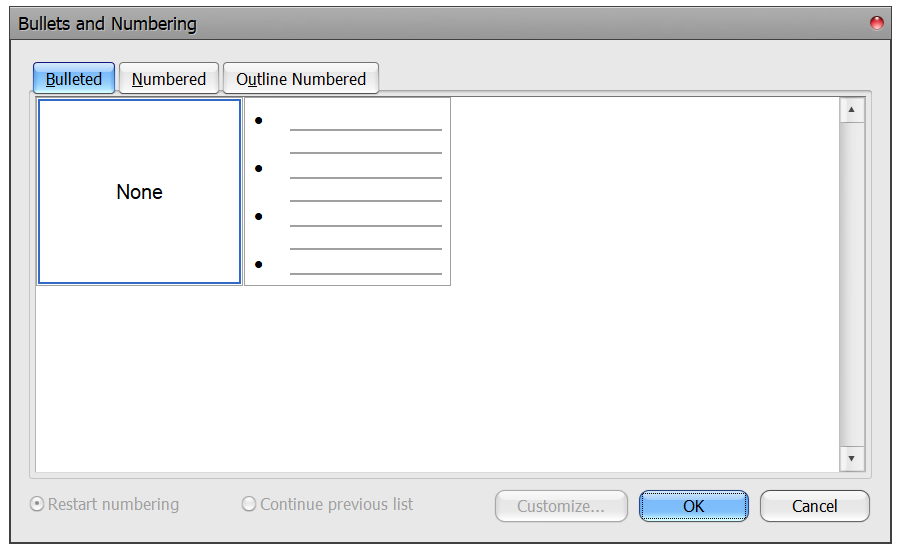
Make your selection and click OK.
Exporting
You can export a notice template for use on another Civil Pro project. The template will be exported as a Civil Pro file (cpx).
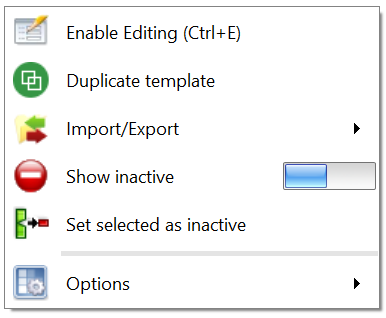
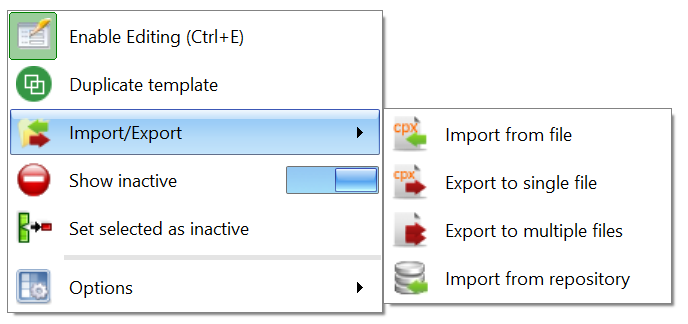
- From within the Notice Template register right click to bring up the context menu
- Select Import/Export and from the options list select Export to Single File (cpx)
- You will then be asked to name the exported file and to select where to save it. When completed click Save.
Importing
To import a saved Notice Template simply right click to bring up the context menu from within the Notice Template Register and select Import/Export then Import from File (cpx). Civil Pro will then ask you to select the relevant cpx file from within your system then click Open. The imported template will now appear in the register.
Inactive Notices
If the template is no longer used you can mark it as “Inactive”. To do this bring up the context menu from within the Notice Template Register screen and from the options select Set Selected as Inactive. Once this is done the template will no longer be included in the default Notice Template Register view. Should you wish to see inactive notice templates in the register view simply select Show Inactive from the context menu accessed by right clicking from within the Register screen.