The site diary is a record of daily activities on site, including instructions received or issued and incidents. It is accessed under the Field heading within the main menu.
Site Diary Register Fields
The default view contains the following fields:
Diary ID – a unique number generated by Civil Pro for each new diary entry
Diary By – the creator of the diary entry
Diary Date – the date the diary entry was created
Site Activity – summary of events/activities on site specific to the current diary entry
Adding a diary entry
- From within the Site Diary register click on New Diary from the menu at the bottom of the screen.
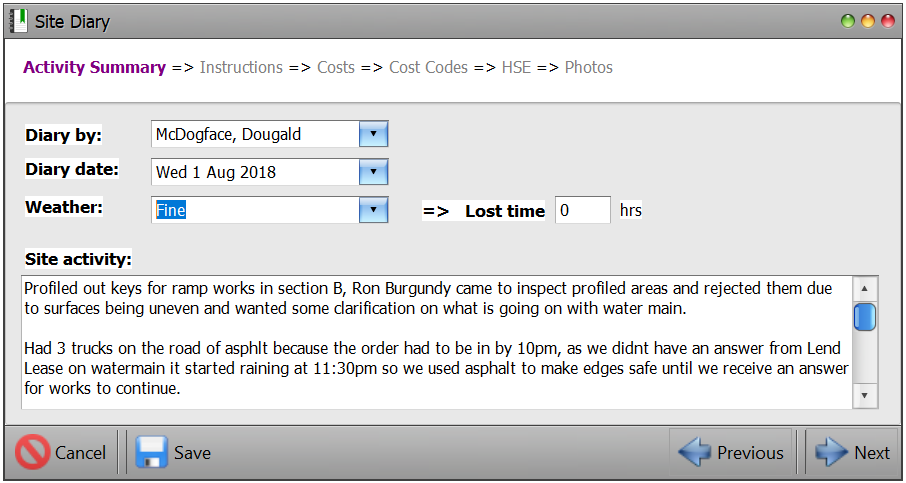
- The Activity Summary screen will appear. Complete the required information from the dropdown options (diary by/date/weather). Complete the estimated lost time in hours due to weather conditions if appropriate, then enter in the details of activity on site.
- When finished click Next at the bottom right of the screen.
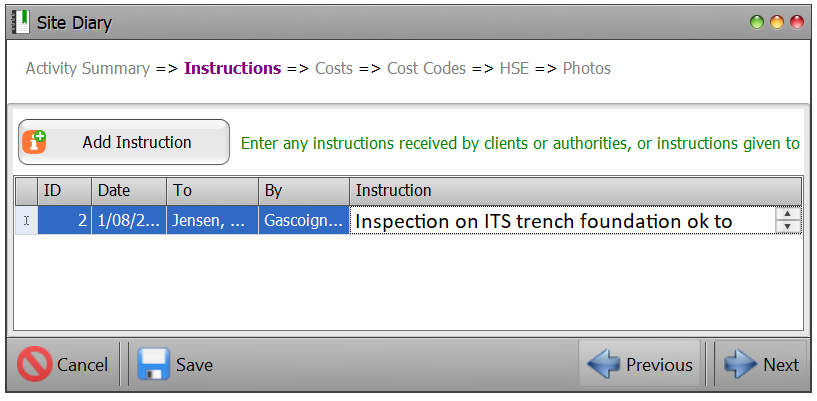
- The Instructions screen will appear. To add an instruction click on the Add Instruction button at the top left of the instruction screen.
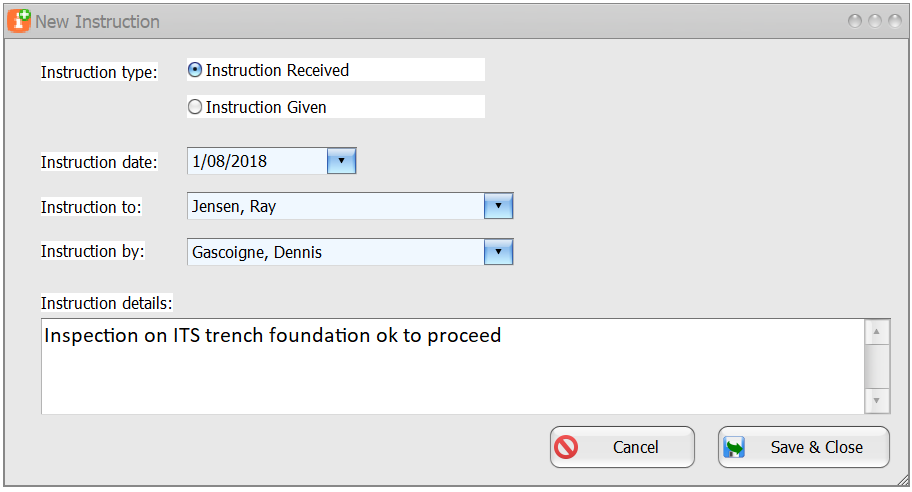
- This will open the New Instruction screen. Indicate the nature of the instruction by selecting either ‘Instruction Received‘ or ‘Instruction Given‘; complete the required information from the dropdown options (to/by) – the date is auto completed.
- Type in the details of the instruction. When finished click Save & Close.
- You will be taken back to the Instruction page. When finished adding all instruction click Next.
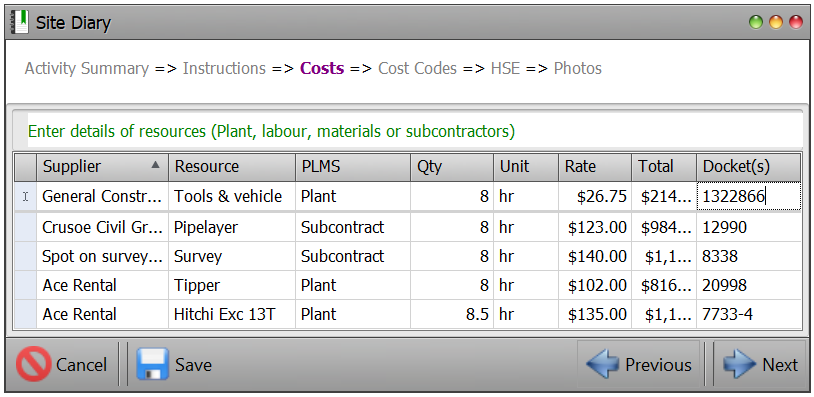
- The Costs screen will appear. Here you can enter the details of the costs incurred on site that day. Use the dropdown options to enter in the details of the supplier, resources and resource category (plant/ labour/ materials/ subcontract).
- Type in the quantity, unit, rate and docket details as required (total is calculated automatically). Tip: Use Tab to move between cells and start a new line. When finished click Next.
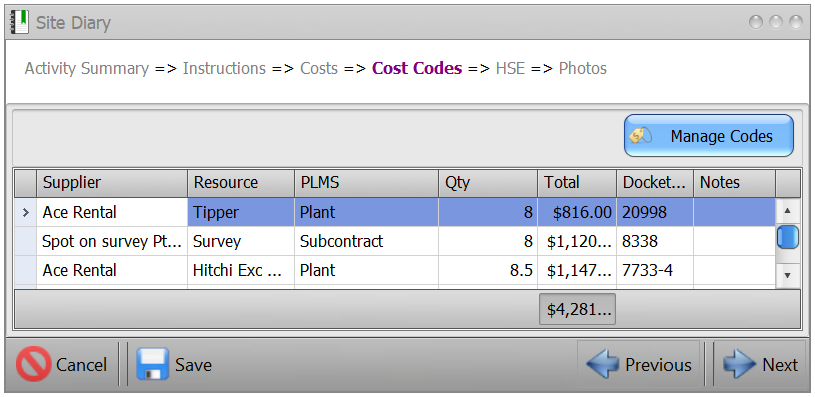
- The Cost Codes screen will appear with the details previously entered on the cost screen. This screen allows you to allocated cost codes to the cost entered. To do this click on the Manage Cost Codes button to the top right of the screen.
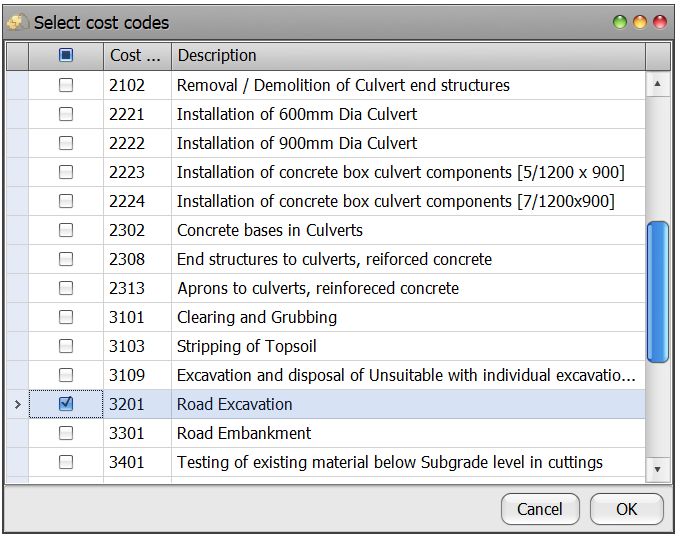
- The Cost Code Selector screen will appear. Check the boxes of the cost codes you wish to apply and click OK.
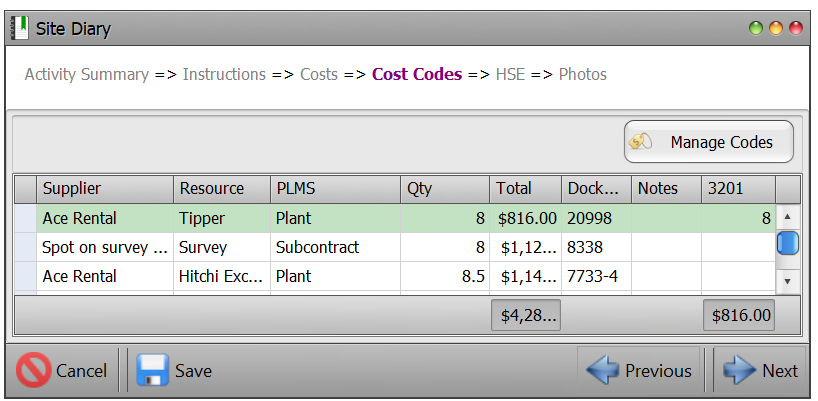
- The selected cost codes will now appear in the register along side the notes column to the right of the screen. In the example below the cost code is 3201. Allocate the proportion of the quantity of the cost item to the cost code selected. In the example below all the cost of the tipper is allocated to cost code 3201 so the proportion of the quantity allocated is the same as the total (i.e. 8). When all quantity items have been allocated to the cost code (or across multiple cost codes if selected) the item will be shaded green. If there is some proportion not allocated the item text will turn red. Click Next.
- The HSE screen will appear. Enter in the required details for direct labour and subcontract labour (# on site/hours).
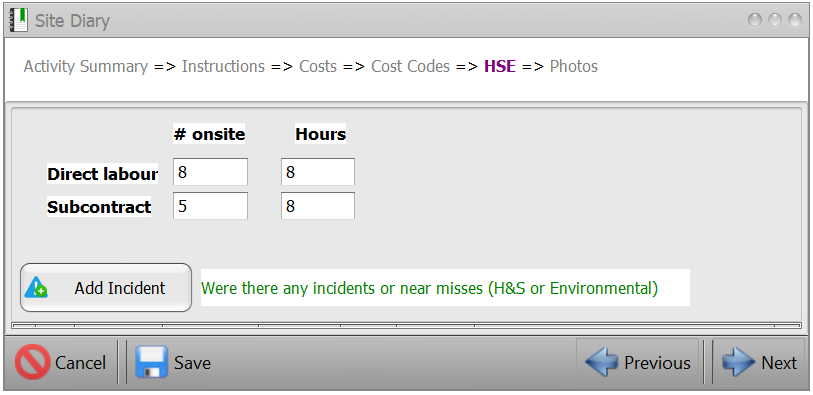
- To add an incident click on the Add Incident button. This will open the New Incident screen.
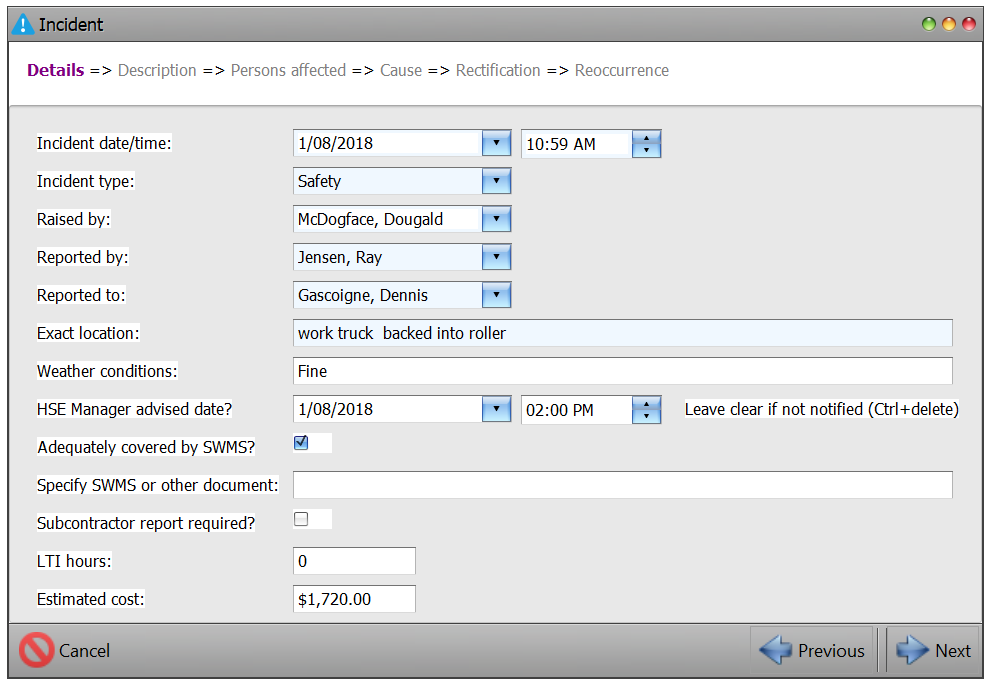
- Complete the required information – for information on how to enter an incident refer to the Incidents page. When finished adding all details click Save and Close.
- You will then be taken back to the HSE screen where your newly entered Incident will now appear in the register. Click on Next.
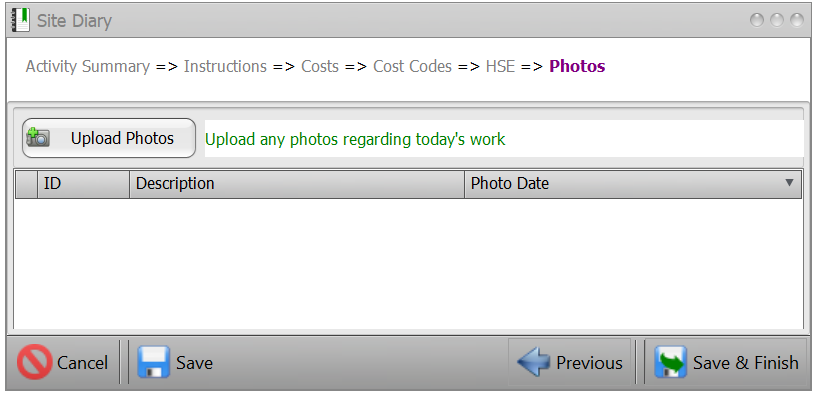
- The Photos screen will appear. To add photos to the diary, click on Upload Photos at the top left of the screen. Note: the Project File Path (or Project File Repository) must be set to upload photos. To do this refer to the Project Settings page.
- The file selector dialog will open – select the photo file/s and click Open.
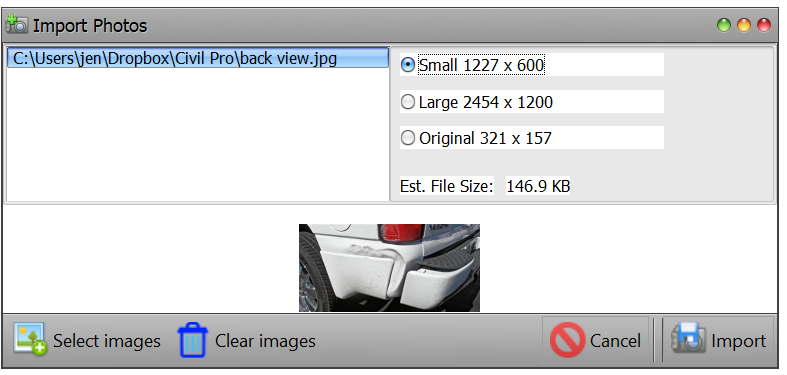
- The selected image will appear in the Photo Viewer. From here you are able to change the size of the image if required. Click Import.
- You will be taken back to the Photo section of the site diary. If the Description and date details of the photo have not automatically populated enter these details and then click Save & Finish.
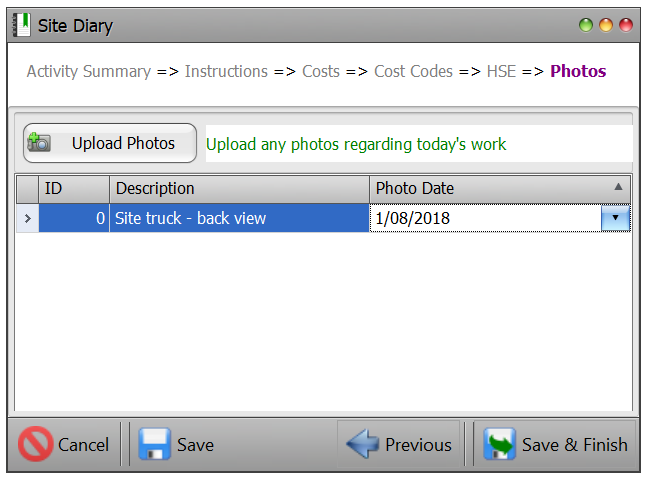
Tip: Rather than having to use the blue arrow keys to move between pages you can select any page within the diary by clicking on the name of the page at the top of the site diary screen (name of active page appears in purple).
![]()